Installation
This page explains the basic iBoard installation process.
1. Download the Latest Version
Download the latest version from the Download section.
2. Upload to IIS
Extract the downloaded package and upload the application files to your IIS server.
3. Configure appsettings.json
Open the appsettings.json file and configure your database connection string.
"DefaultConnection": "Server=YOUR_SERVER;Database=YOUR_DATABASE;Uid=YOUR_USER;Pwd=YOUR_PASSWORD;TrustServerCertificate=True;"4. Run the Installer
Open https://your-domain/ShowPage/Index in your browser.
5. Complete the Installation Wizard
After opening the installer page, follow the steps below to configure the database and create the first administrator account.
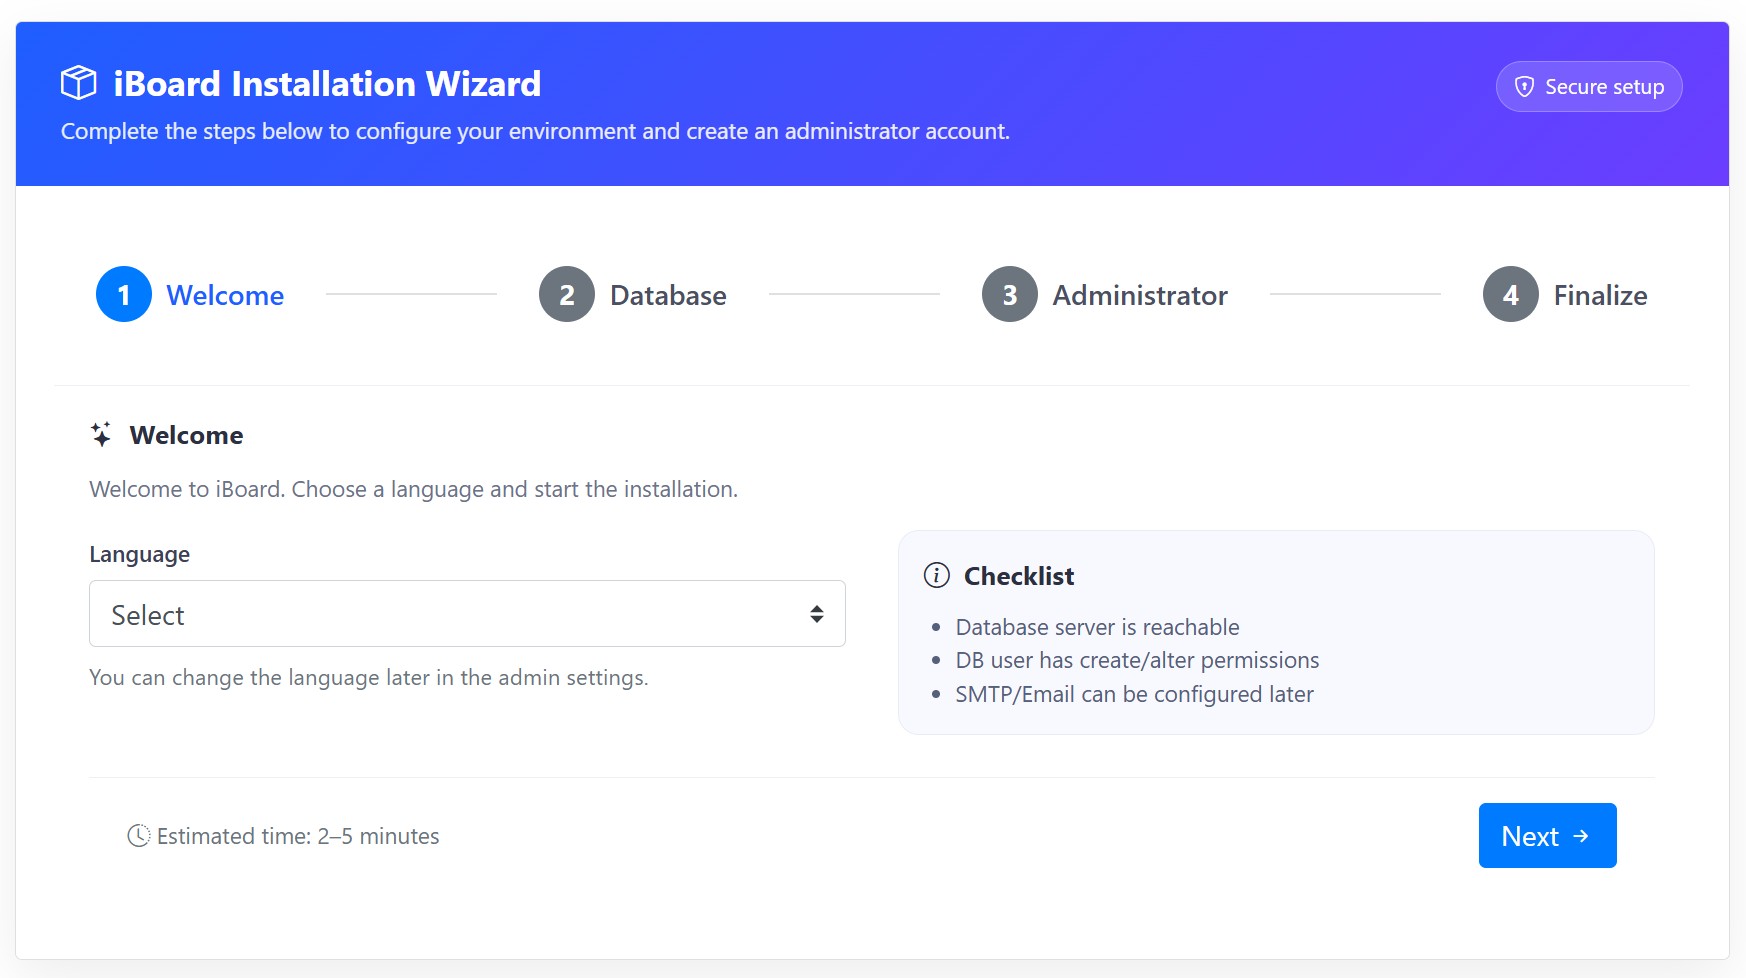
Step 1: Welcome
Select the language you want to use during installation. You can change the language later in the admin settings.
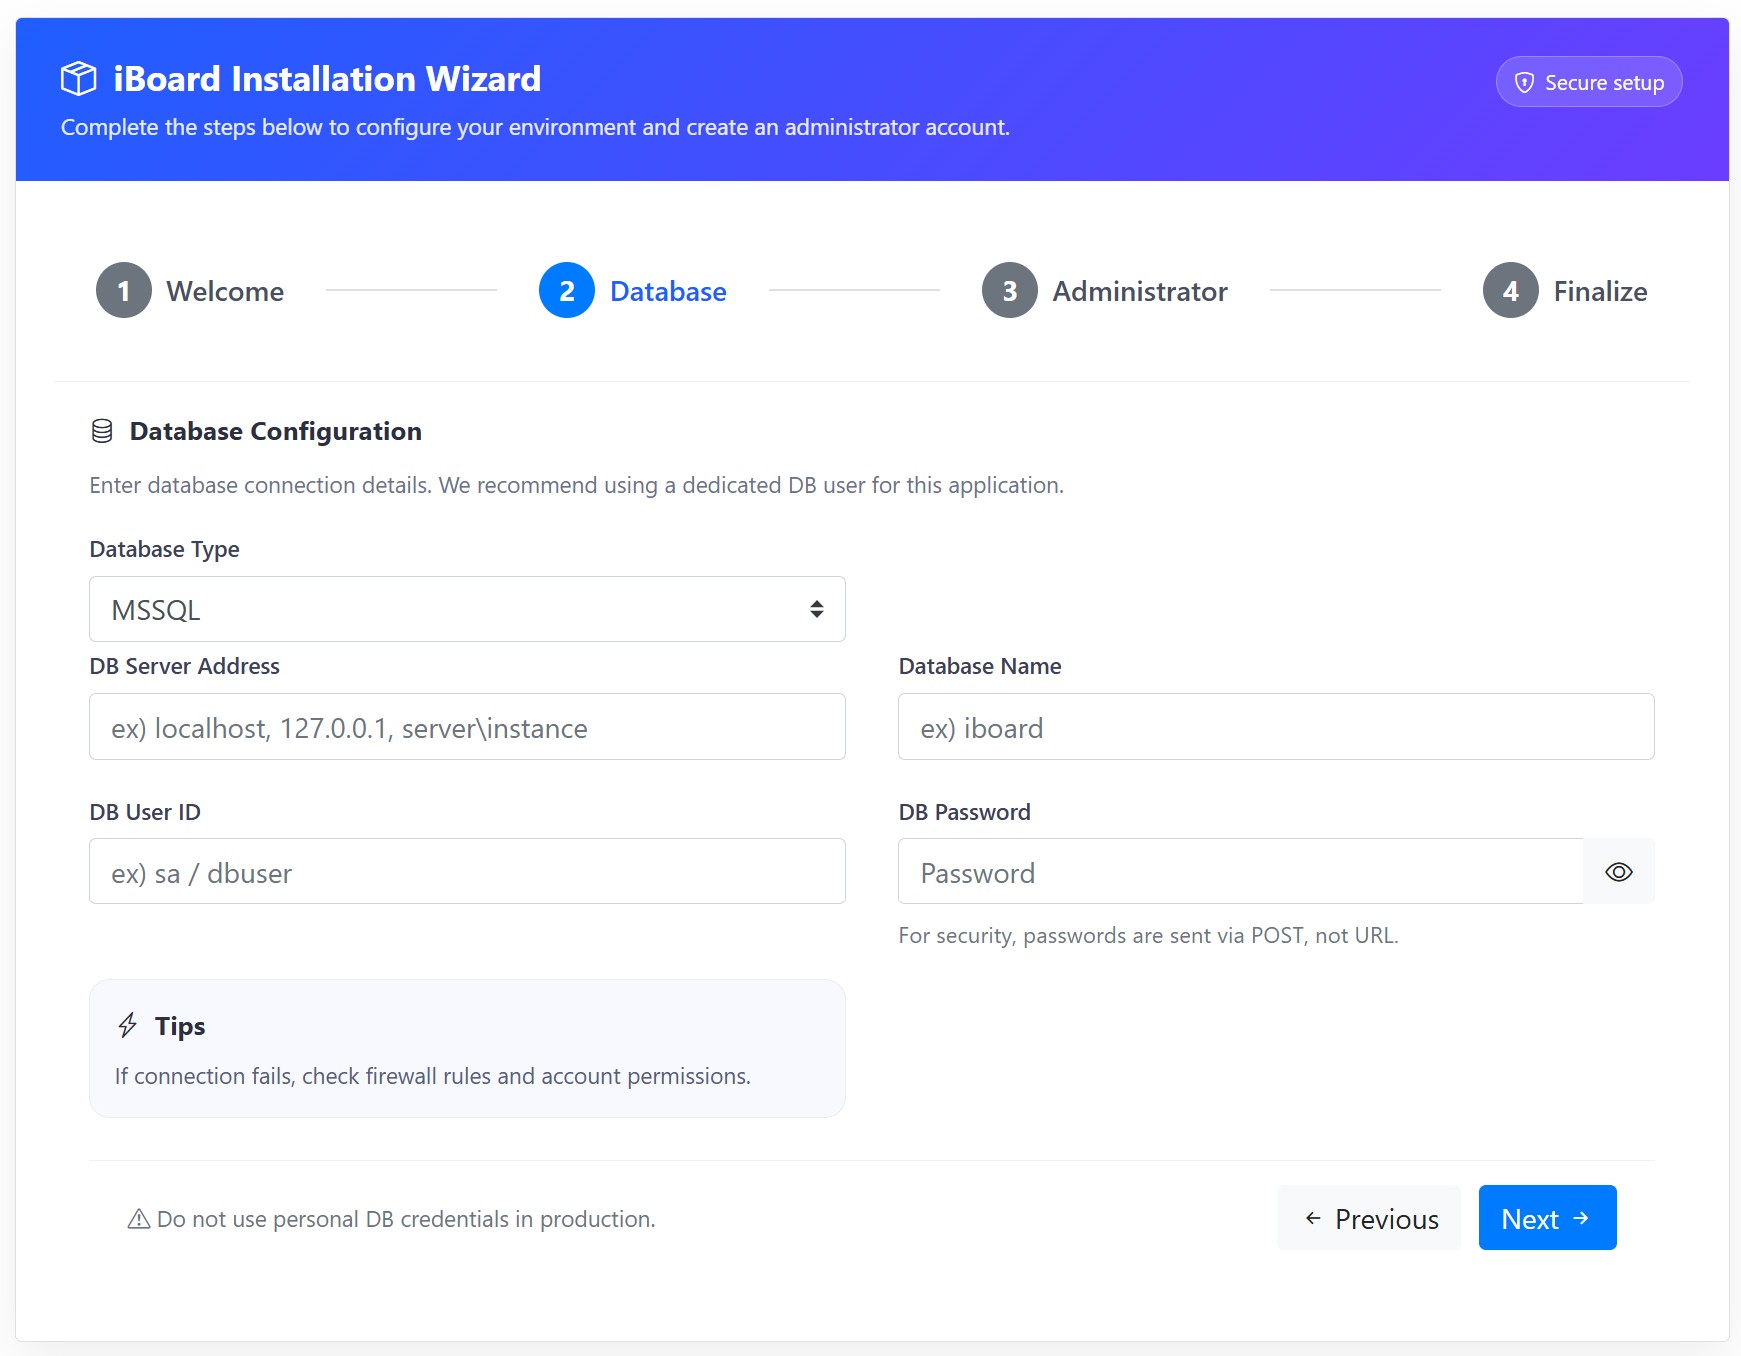
Step 2: Database Configuration
Enter your database connection information. This information is used to create and configure the iBoard database.
- Database Type: Select the database type, such as MSSQL.
- DB Server Address: Enter the database server address.
- Database Name: Enter the database name for iBoard.
- DB User ID: Enter the database user ID.
- DB Password: Enter the database password.
If the connection fails, check the database server address, firewall settings, SQL Server authentication mode, and database user permissions.
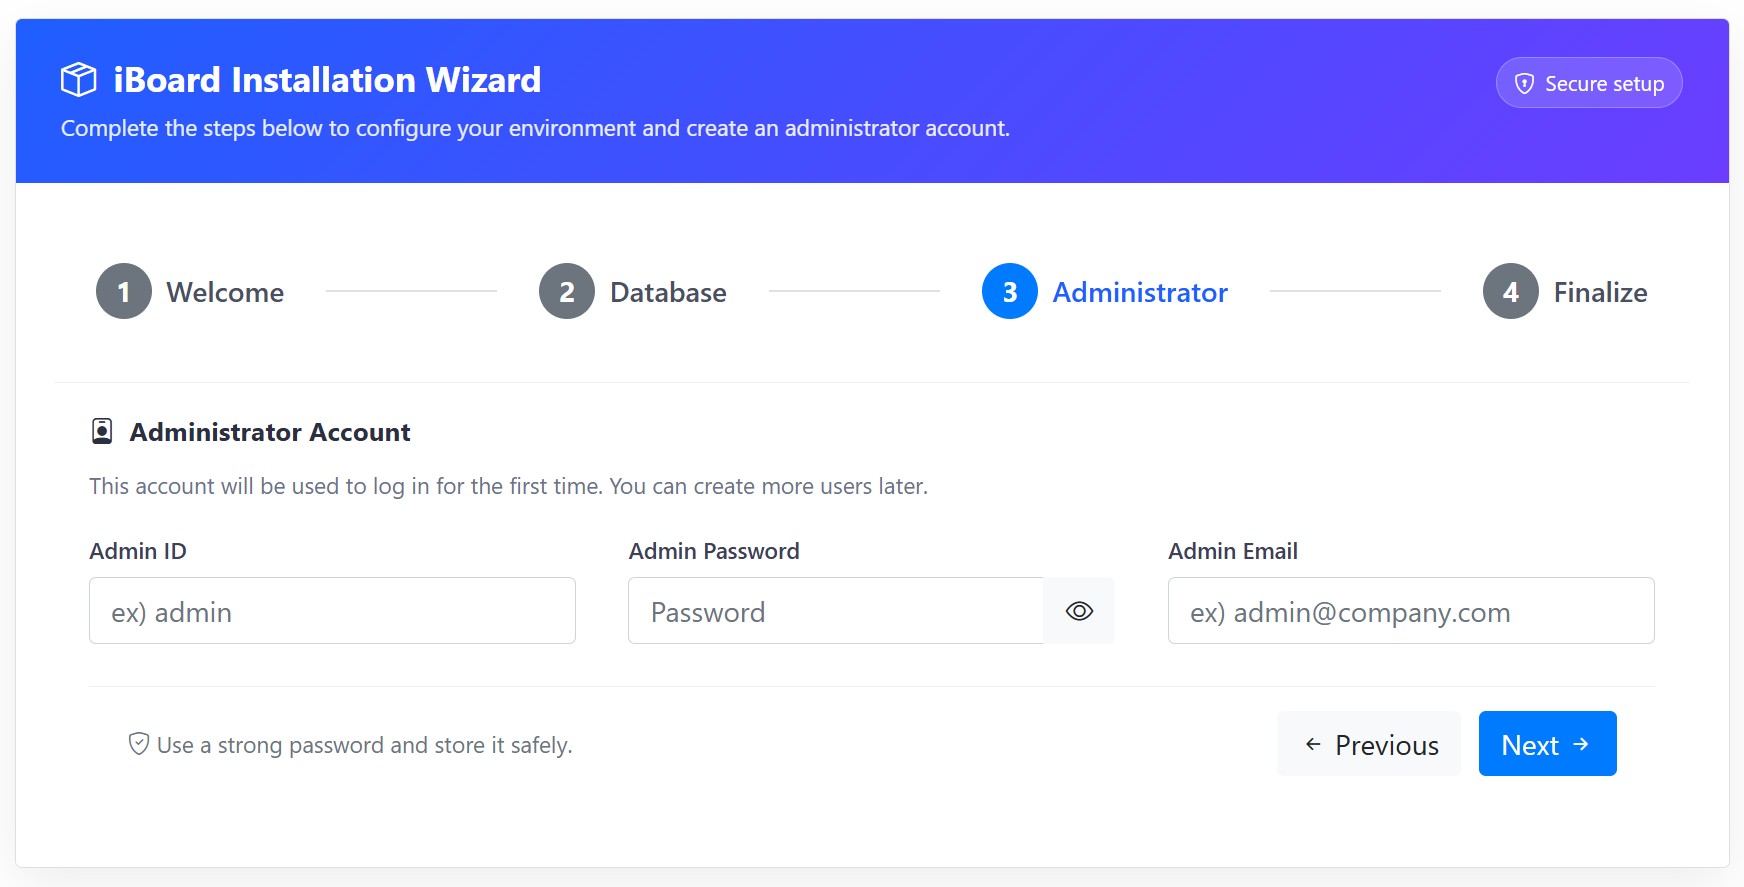
Step 3: Administrator Account
Create the first administrator account. This account will be used to log in to the admin area after installation.
- Admin ID: Enter the administrator login ID.
- Admin Password: Enter a strong password.
- Admin Email: Enter the administrator email address.
Store the administrator account information safely.
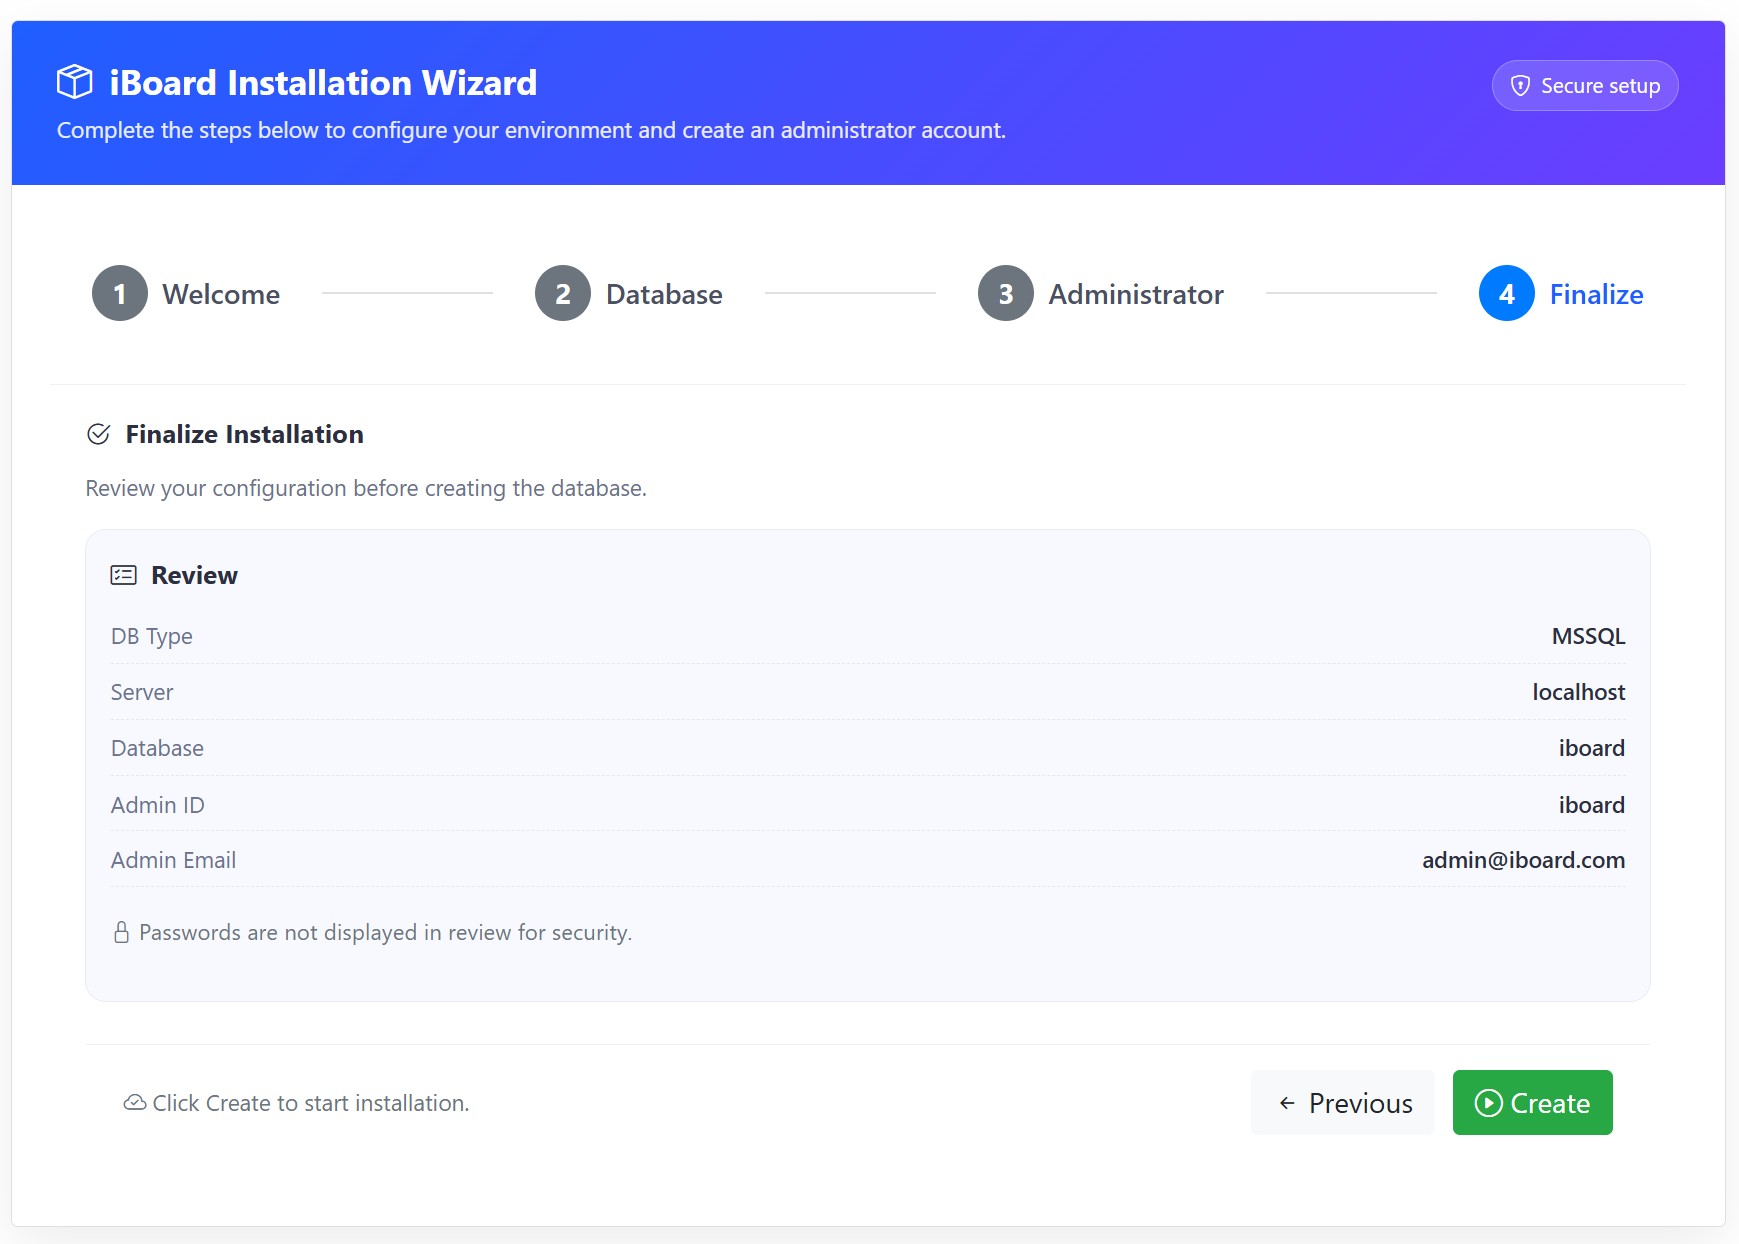
Step 4: Finalize Installation
Review the configuration information before creating the database. Passwords are not displayed in the review screen for security reasons.
Click the Create button to start the installation. When the installation is completed successfully, you can access the iBoard admin area.